I often use some very simple ”studio” setups to shoot small items in my office or my living room, even my bedroom. There's no reason to make things too complicated.
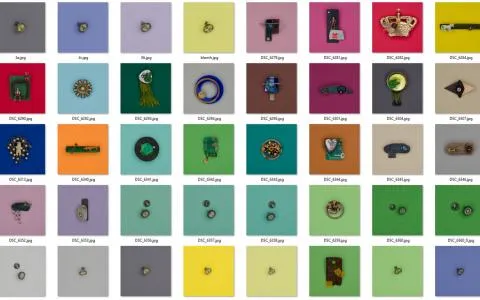
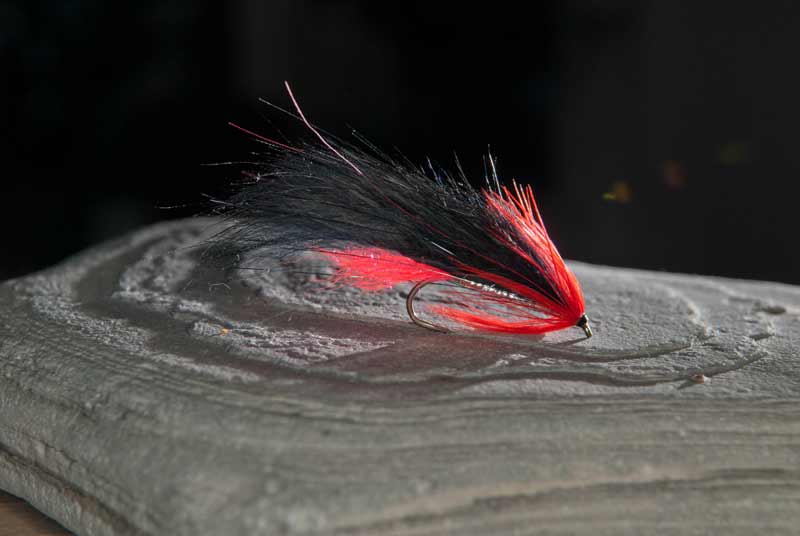
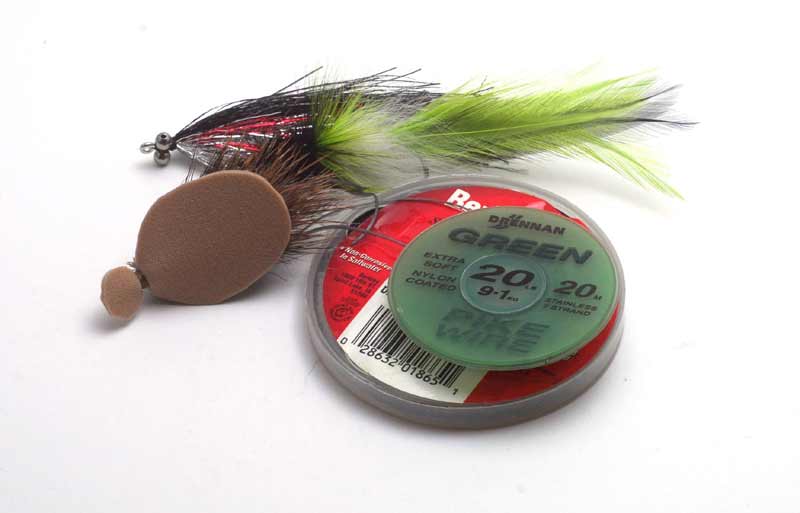
I shoot a lot of pictures of small things—mostly fishing flies to be precise, but also other small items. Most of them are just a couple of centimeters or an inch or so in size. Some are slightly bigger, but all small enough to hold in a hand. I also shoot other items such as fishing and photo gear, but as you know, most of that is also limited in size.
Size matters
There are many advantages when shooting smaller objects compared to larger ones. If I were shooting larger objects like furniture not to mention cars I'd have some major challenges, not least regarding lighting. You can of course shoot outdoors, but if you want full control, you need to go into a studio, shoot outdoors under a so called silk (a large screen) or shoot in the dark and provide light from your own light sources such as flashes in softboxes, in striplights or in octabanks.
The larger the subject is, the larger the light sources need to be if you want smooth and fully covering light, and that requires some huge modifiers and some potent flashes.
When we go down in subject size, especially down in the sizes that I am dealing with, the demands on the light becomes much smaller, and they can easily be satisfied with speedlights and small modifiers.
For the same reason most of my “studio” photography is in the category normally referred to as tabletop photography, because is is just that: photography on a tabletop. I use many other surfaces than tabletops, but you get the idea.
[Sigma 90mm f/2.8 macro, Nikon D300s]
Not elaborate
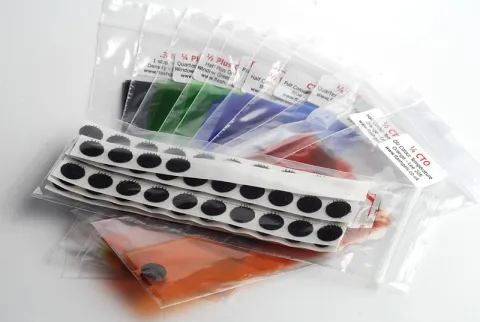
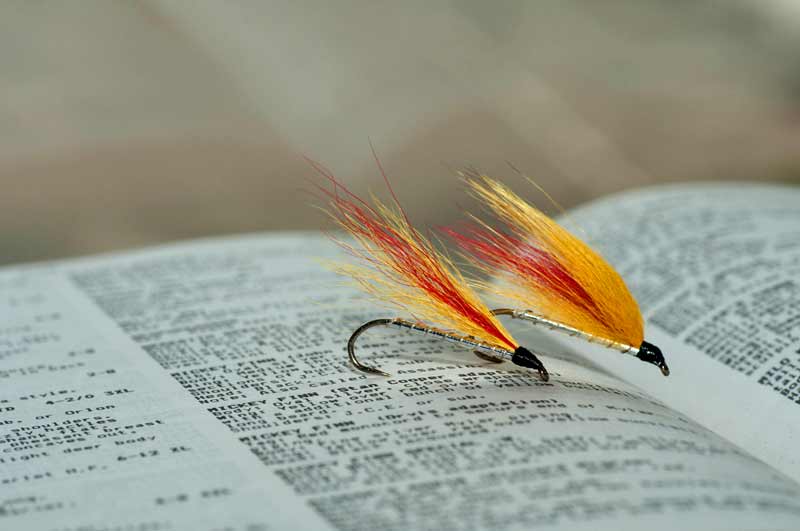
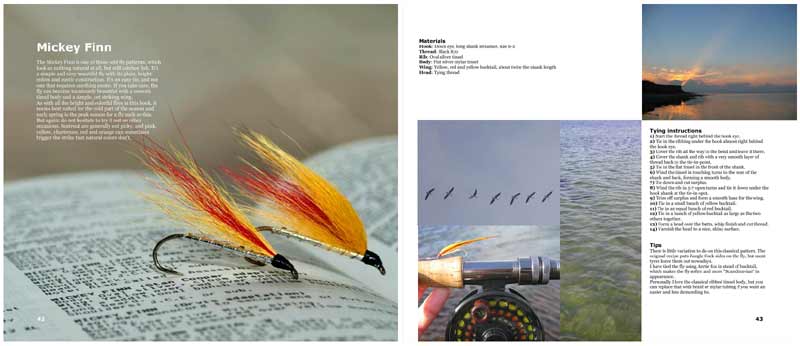
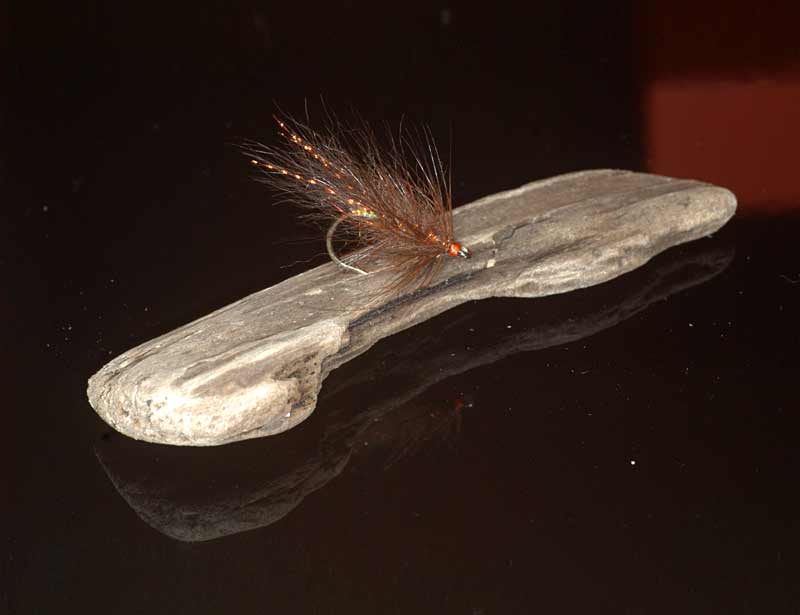
I usually don't spend much time thinking out elaborate lighting schemes, but keep it really simple. Many shoots are spurs of the moment and take about 10-15 minutes to set up and execute. I mostly use a simple background such as a small piece of cardboard or whatever I have handy. Box lids, book pages, ceramic tiles, small pieces of wood also come in handy. I generally vary my setups and try to create a bit of ambiance in the images by choosing a background that suits the subject.
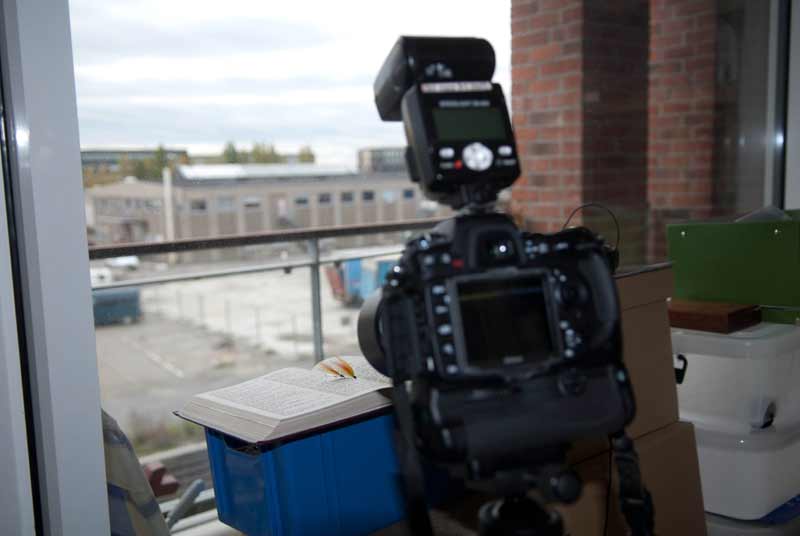
Lighting wise I will oftentimes use the outdoors light coming in through the windows as my main light source. Sometimes it's soft and shadowless and sometimes it's sharp and harsh. I utilize its qualities or modify it by seeking a shadowed place in the house or set up a diffuser, which can be everything from a white umbrella to a simple sheet of paper. Sometimes that's enough. Since my subjects are still, and my camera is on a tripod, I need not worry about the amount of light. With a little care I can simply extend my exposure and get what I want.
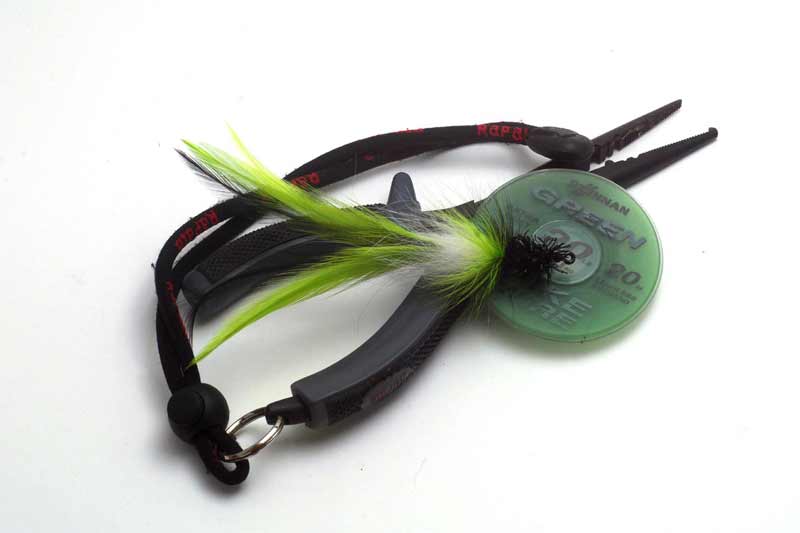
[Sigma 90mm f/2.8 macro, Nikon D300s]
Extra light source
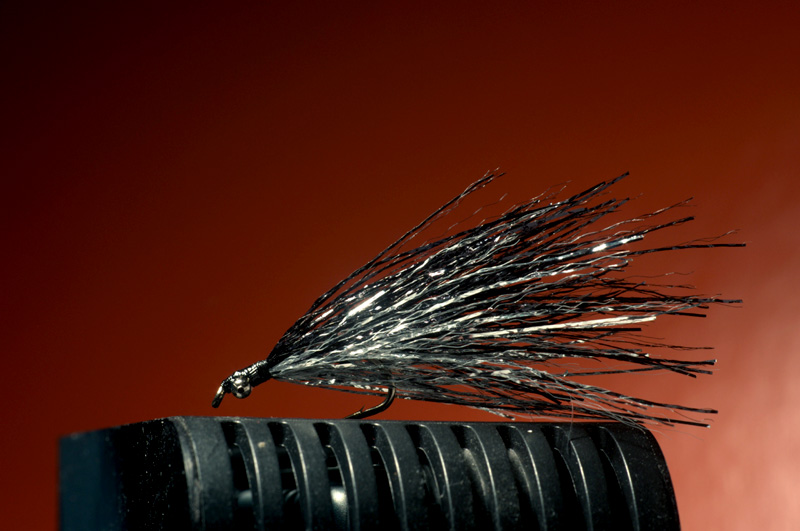
But sometimes I want an extra source of light, and I obtain that either with a reflector for the ambient light or by using a flash, sometimes two. My reflectors are essentially pieces of office paper that I arrange to soften shadows. But if I want to demonstrate the translucence of a material I usually turn to flashes. By adding a flash behind the subject I can get a nice backlight, which can show a certain quality of the subject. In most cases I just use a bare flash set to manual and turned way down. I sync it with a cable or a wireless trigger. I almost never use Nikon CLS because it will take me longer time to get what I want by adjusting ratios and power levels than by simply setting the rough level and shoot a few tests. Since my scene is static, I need not worry about variations in exposure due to movement or distance between subject and camera. Once I have set the basics I can shoot away, changing the subject arrangement subtly between shots.
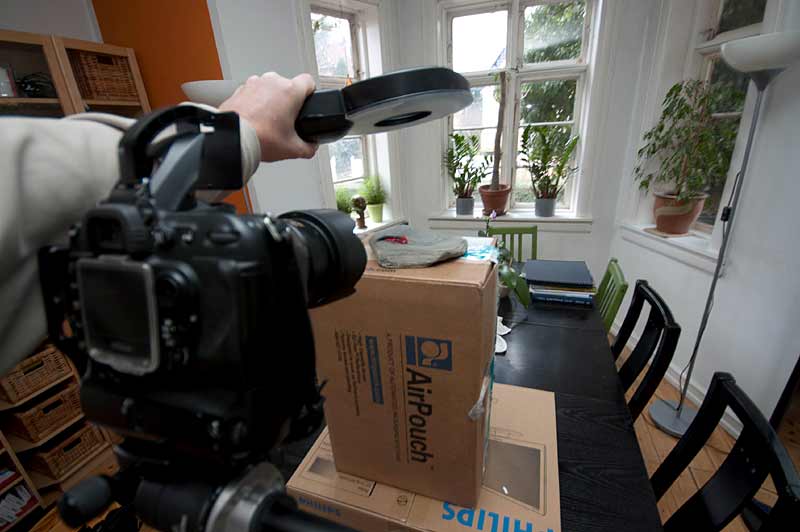
Sometimes I set the flash or flashes on light stands, sometimes I just lay them on some appropriate surface and sometimes I hold them in my hand.
Flash only
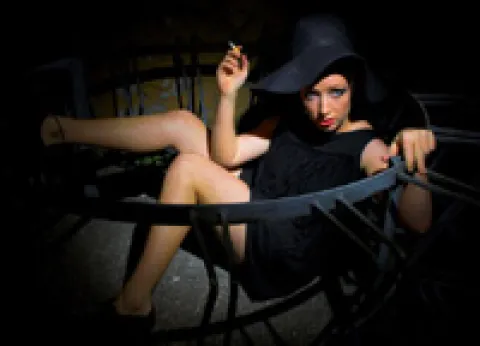
On a few occasions I use flash only and exclude the ambient light. I mostly do this when it's dark. At that time I need the flash to get enough light and I can avoid thinking of the influence of the sun.
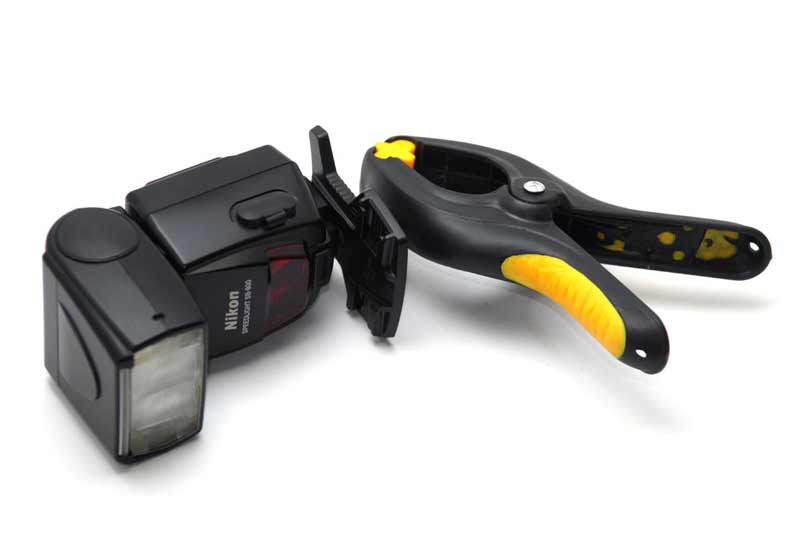
My go-to solution is to use my Orbis ringflash adapter or my own home made mini softbox. Both deliver a nicely softened light, which is big enough to give nice shadows. I normally hold the flash mounted in the softener in my hand, which enables me to adjust the angle of the light quickly and easily. Unless I need a very special effect I simply use TTL exposure control. That gives me a perfect exposure every time. Other times I use a fixed manual setting for the flash and sync using a cable when I can, or wireless triggers or the SB-800's slave mode if distances grow beyond the cable's reach.
A light tent
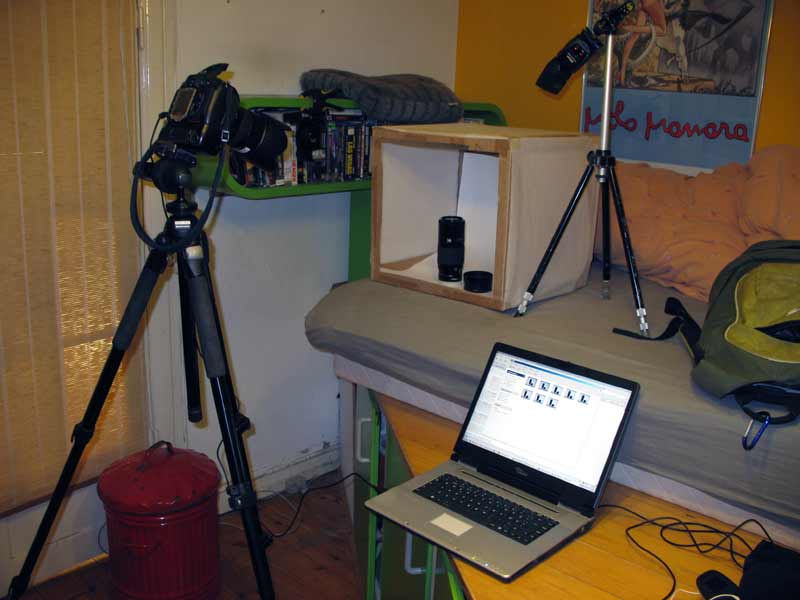
If you want some really smooth and even light, consider building your own light tent. A suitably big cardboard box will make an excellent foundation. Cut out the front and the top and mount some translucent white paper or fabric over the top hole.
Line the box with white paper on the inside, making the bottom and back wall out of one piece with a soft transition.
Now you can simply aim your flash on the roof of the box and place your subject inside and obtain some really nice and smooth light. Use CLS or a cable and TTL for very easy exposure control. Overexpose the flash a bit to ensure a completely white background. Alternatively you can expose manually. This is an excellent way to get some really even and objective light, but it isn't open for much creativity.
Keep it simple
The whole idea here is to keep it simple.
When shooting small things you do not need very advanced gear. A good camera, a tripod and maybe a macro lens if your standard lens can't go close enough.
Move your subject around and just see where it looks good, where the light is good and maybe even where there's a suitable background right there. Bring out a chair, a box or something else to set it on, fix the background if necessary and set the camera on a tripod. A few test shots and you should be ready to fire a few keepers.

[Sigma 90mm f/2.8 macro, Nikon D300s]