This is probably the most often used flash modifier apart from the diffuser--if not, perhaps it ought to be.
Filters are cheap and easy to find, fairly easy to use and can give some great effects as well as downright save pictures by adjusting your flashes to match different artificial light sources.
The most common way to use gels is to get the light from your flashes to match the surrounding light, which is particularly interesting when shooting indoors in incandescent or fluorescent light.
Available light sources on a location can be different in color temperature from the daylight colored light that your flash emits. By adjusting the flash with a gel to match these light sources, you can get evenly colored pictures using a combination of available light and flash. When the room light is warm--from bulbs--you use an orange filter (CTO - Color Temperature Orange) for your flash and when it's cold or greenish from fluorescent light, you use a green tinted filter - sometimes called Plus Green or Window Green.
What you do is mount the gel in front of the flash - orange or green to match the surrounding light - and set your camera's white balance to match them all--tungsten or fluorescent--and you get a nice, neutral white balance in your pictures.
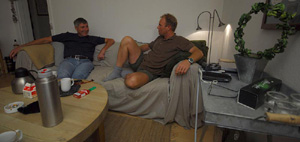
These two images are both shot with a gelled flash--half CTO--to match the light from the lamps in the room. The first one is unadjusted, and in the second one the white balance is set to tungsten.
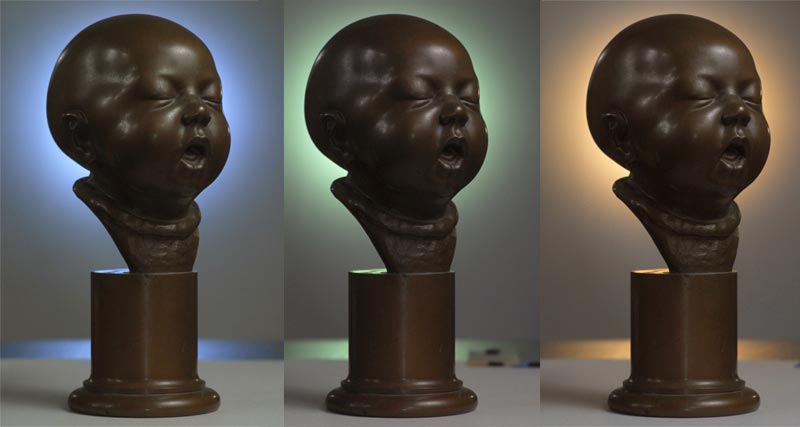
You can of course also use the gels to color the light from the flash to add an effect. This is often done on backgrounds where you turn a neutral or boring looking background into a colorful ditto by using colored light, sometimes adding some structure to the light using a gobo (which I will return to later).
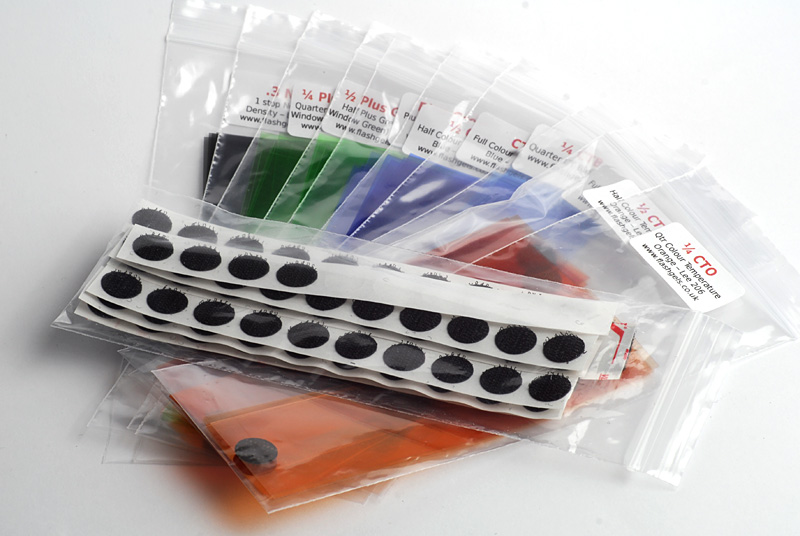
Gels for light sources are usually made from special flexible sheets of polymer plastic like polyester or cellulose acetate and come in big rolls. Originally made for large cinema lights, they can be several feet wide and much, much longer. Luckily a few companies have started cutting these large rolls into smaller bits for us small strobe users. All we need is a few inches of filter.
It's a good idea to buy kits where you get precut gels in many colors, often supplied with velcro patches for easy attachment. Several outfits deliver such kits, like Flashgels.co.uk and Photogels.com are prime examples, and both deliver kits at very reasonable prices.
Velcro straps
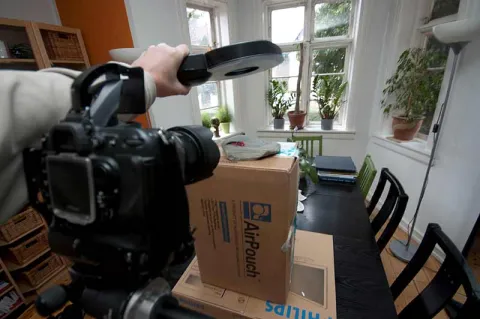
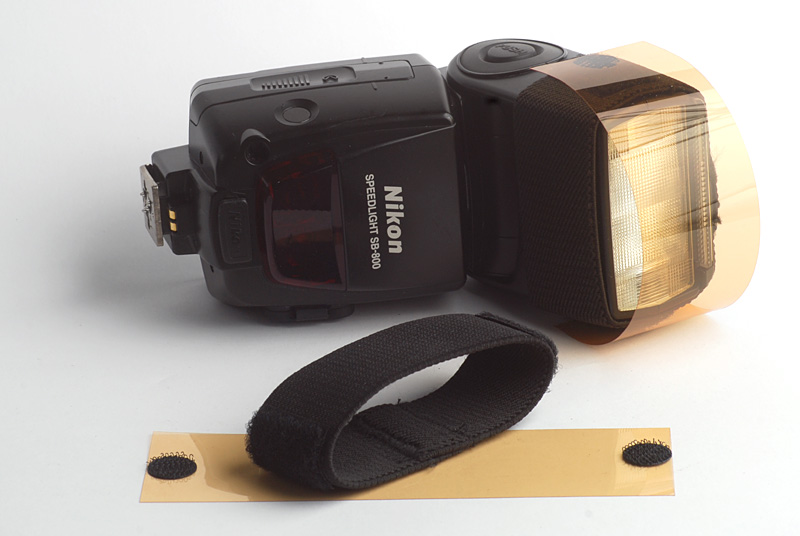
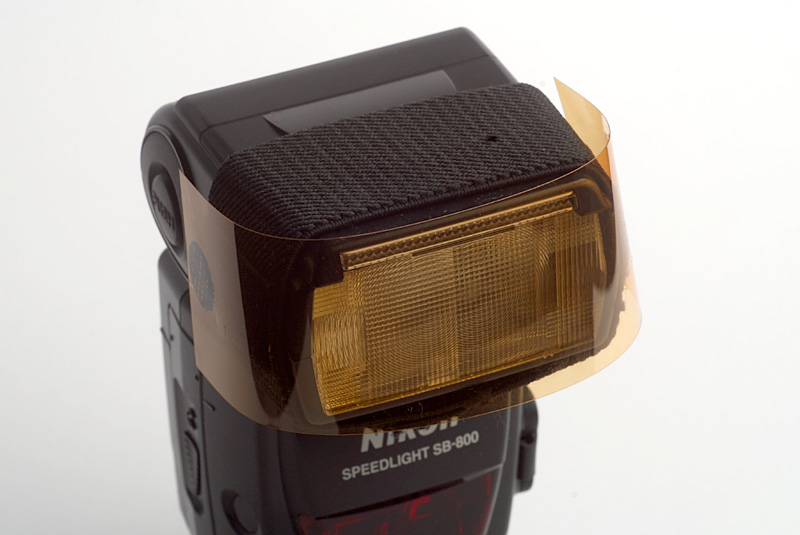
The gel needs to sit in front of the flash, and while some photographers tape it into position, I prefer using velcro. You can add self-adhesive velcro patches to the sides of your flash - they often come with the kits - but I have sewn myself a couple of rings of elastic band and attached the loop part of some sticky velcro to the band. The bands are measured out to fit tightly over my SB-800's and the velcro sits on each side.
Find some 1" or 2.5 centimeter wide elastic band in a sewing shop. You will need about 8" or 20 centimeters to make one band. Simply make a circle and sew it together. I used a sewing machine, but needle and thread will do fine. The lazy photographer can simply staple the elastic band. Crude but effective.
The velcro bands are really neat by the way, very flexible, pack easily and can be used for many other purposes like reflectors, flags and gobos.
Preparing the gels
The filters I bought from Flashgels.co.uk came with a ton of small, round velcro patches that I can stick on the filters. With this arrangement combined with the elastic bands I can easily add and remove gels on my flashes and they sit tight and snuggly on the flash while in use. The SB-800's do come with a set of precut gels, but I have never really understood how to get them to sit properly on the flash. The instruction manual shows how, but the gels will fall off with the slightest movement of the flash. They offer the same adjustment for tungsten and fluorescent light that I can obtain with my own filters, but as I said: I never really used them.
A small tip: write on your gels what they are. The color is easy to see as long as you haven't got a huge selection, but the difference between a half CTO and a quarter CTO is quite difficult to see unless you put them next to each other on a white sheet of paper. An F for full, an H for half and a Q for quarter in a corner of the gel takes care of that.
In use
When using your gels for tinting the light, do it with care, especially when pointing the flash at people. While a subtle color cast in a single light source can be a nice and stylish touch to an image, a wealth of harsh colors is a risky path to trot - especially when people and skin is involved. It may work, but it may also utterly fail. A nice way to use gels is to create a warm hue to a low standing flash shining through a door or a window to create a fake sunset or soft evening light. And as I mentioned earlier: colored light on a background can really turn surfaces from dead boring to very exiting.
For inspiration on using gels you can turn to photographer David X Tejada's blog, which has lots of examples on using gels in subtle as well as more expressive manners.
Rui M. Leal, author of the blog Lighting Mods has a very long and detailed instruction in setting up a flash gels kit.
DIY gels
For the real DIY'ers here's an instruction on how to print your own gels. Yes, you read it right! Print them. Simply download these jpg's and get them printed on acetate transparencies and you have a nice set of effect gels in some neat colors. The price? About 0.5 US$ per gel in 8*10 inches. Cut them up into six pieces each and you have enough to supply five of your fellow photographers with a set.
Free gels... maybe
The ultimate gel kit for us small strobe users is a socalled swatchbook of the gels delivered by big screen lighting gear suppliers like Roscoe, Apollo or Lee. These swatches contain samples of gels in hundreds of colors, and cinema lighting gaffers have these swatches so that they can see samples of all the hues and densities supplied.
The thing is that these samples are perfect for covering the front of a small strobe. These swatches are in principle free - like the color samples from your local paint supplier - but are quite hard to get a hold of for us mere mortals.
Roscoe has had a "request swatch" form on their web site for a while, and I filled it out months ago. But I never saw the shadow of a swatchbook in the mailbox. The form moved, and a text now reads that Rosco has had "an unprecedented demand for Roscolux, Apollo and Cinegel swatchbooks" and that it can take up to three months before they can deliver. Apollo has a similar page, but emphasizes their right not to send kits to people who don't qualify. Too many requests from small strobe users maybe? The power of strobists!
Swatches can also be picked up at trade shows, but again: I have never seen one at any show I attended. So for now I must dream about the many nice colors I could have, and manage on the collection offered by the kit I bought at Flashgels.co.uk, which admittedly is sufficient to bring me a long way.
Fun with gels
Once you have a set of gels and some kind of way to stick them on your flash, you are ready to play. Whenever using a flash, always let the option of using gels run through your mind. A gel on a flash to light up the background, a cold/warm contrast effect, a low CTO-gelled flash to give a warm evening ambience, a green gel to adjust for a strange cast from fluorescent light? There are lots of possibilities and lots of great shots to be taken with gelled flashes.