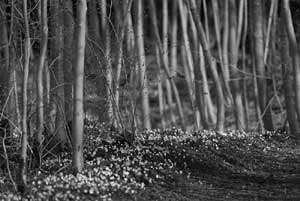
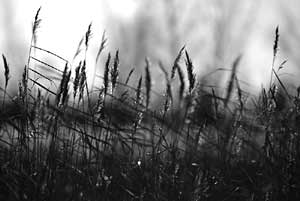
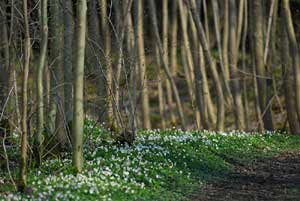
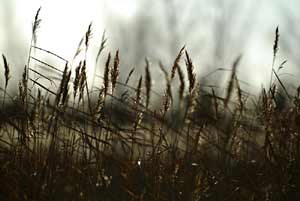
Updated: B/W images can be stunning, and converting digital color images to B/W can produce some surprisingly good results – provided you do it the right way.
I used to take a ton of black-and-white pictures, but since my transition to slides and on to digital, this has changed. But recently I have been fooling around with B/W a bit again, and the results can be quite good.
The wet darkroom
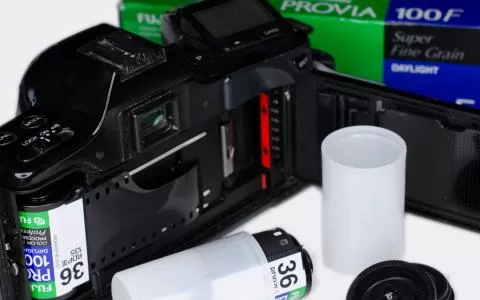
My original reason for shooting B/W was one concerning price. B/W film was less expensive and you could develop B/W yourself. I didn't have the kind of money it took to have my film commercially developed and printed, and since DIY color was out of the question, I took the black and white road.
I bought film in bulk spools and rolled my own. I spent days on my knees in the bathroom in my childhood home enlarging and developing pictures on my small, wobbly Ilford enlarger balancing on the lid of the toilet while my developer, stop-bath and fixation was waiting on a board set on top of the bathtub. Yeah, them were the days!
Having processed hundreds of rolls of Tri-X Pan and Ilford HP5, I slowly transgressed to slide film. The color-aspect was intriguing and not having to spend hours on my knees in my makeshift darkroom was a relief. I liked printing pictures, but for routine work and dozens of rolls of film it was a tedious and unwelcome job. Slides were much easier: cut and frame and dump them into magazines. So I slid away from B/W and into color.
The digital age
I took thousands after thousands of slides, and my slide archive proves that I have shot my share of analog transparencies.
But I do miss black-and-white.
But the digital age was applying pressure. First I acquired a Nikon CoolScan slide scanner to be able to deliver digitized photo to clients, and before I knew it I was knee deep in digital equipment. I haven't looked back, and I miss neither the darkroom nor the slides.
But I do miss black-and-white.
Why do we love B/W? I don't know about you, by I am sure that my photographic upbringing with B/W as a staple method has left a lasting mark, and that all the B/W images surrounding me when I was learning the ropes has injected me with the black-and-white germ.
When I was young all the best pictures I saw were B/W--Robert Capa, Henri Cartier-Bresson and the Magnum guys, Ansel Adams (of course) and my local Danish heroes like Gorm Valentin, Viggo Rivad, Krass Clement and many others.
They were all shooting B/W.
Basically because that was what you did back then. Still today some of the strongest images shot are B/W. I have mentioned James Nachtwey before, but Danish Jan Grarup is another award winning B/W photographer and Jacob Aue Sobol is a Magnum photographer, which is an award in itself.
Click-click
Now, as you know, converting from color to grayscale is just a matter of a couple of keystrokes in any modern photo-processing program, and removing the color from your color images is as easy as... I have done that many times, but for some reason I have never really been overwhelmed by the results.
There is a long way to the quality I could get from my trusty old Ilford enlarger. Not quality as in high quality, but rather qualities as in special character. The grainy, contrasty, tack sharp, shiny prints had an ambiance of their own, and I haven't been able to recreate that digitally.
Recently I have seen different methods mentioned on the web, and both the podcast on Nikonians.org as well one of my newly found podcast-resources, The Photography Show, have had episodes where they covered B/W conversion and printing.
That taught me a few interesting bits.
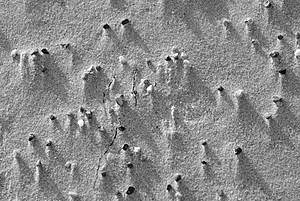
[Nikon D200, Nikkor 18-200mm]
Not grayscale
Just using the grayscale conversion in Photoshop is not the way to go. More subtle approaches are needed if you want your B/W images to have some style.
Personally I have never been a fan of too much post-processing on any image, but it is clear to me that a successful conversion from color to B/W does call for some extra work.
There are in essence three ways to go:
- manual
- action based
- filter based
Manual
The manual method is still my favorite, and considers of a series of operations, which include a conversion to B/W using the desaturation function or channel mixer ditto. These are both available as adjustment layers in Photoshop and will remove the color information from the image. The channel mixer allows you to control the way this is done in greater detail, like applying color filters to the picture in the conversion process, which can be quite interesting. Using the red channel more than the green and blue channel is a very common way of getting the sky more pronounced.
Desaturating the image leaves no such options, but just removes the color information as a whole. The effect obtained this way is exactly the same as the Image>mode>grayscale menu choice, but just implemented as an adjustment layer. That means that you can manipulate the underlying color photo to get different effects, which will show B/W due to the desaturation layer. You can play with the Levels function to enhance contrast and even do this for one color-channel at at time, giving you a control that is much like the filter function in the channel mixer.
Action
There are a number of actions available on the web and in different tutorials. These actions are basically the manual steps, which have been recorded, but in most cases with a lot more functions in play.
I found this Greek action one day while scooting around. It's a great example of what I mean. It only works in Photoshop CS2 and not in my ancient version 7 unless I update it and remove a few steps that rely on newer facilities. But it clear demonstrates what can be done with actions. This thing is complex – like in really, really complex – and uses all the tricks in the book to converter to B/W and even introduce naturally looking grain.
You can create your own action by recording your operations while going through the moves. It's usually a far cry from the complexity of the above, but can give you an easy and quick way of converting from color to B/W.
Filter or plug-in
There are a number of commercial conversion packages on the market. These are software bundles, usually stand-alone programs or Photoshop plugins that appear as additions to the filter menu. The control you can get in such programs is usually way beyond what can be done manually – and hence in actions.
One of the most widely used and well-known filter suites is the one from Alien Skin. They have a whole slew of plug-ins, amongst which Exposure is the one that's interesting here. This package contains a converter that can simulate different film emulsions, and in the list you will find B/W classics such as Tri-X and HP5 as well as Provia and Velvia color slides. The package is about 200 US dollars, but your can try it for a month before you decide.
NIK Software is also a large provider of plugins for several photo programs as well as stand alone programs to convert images in all kinds of ways. I have used their Silver Efex Pro and must say that it's a very neat set of filters that convert between color and all kinds of black and white and does a swell job of converting to the looks of certain film emulsions, color casts, grainyness and much more. NIK Silver Efex Pro is yours for 200 USD.
If you run Lightroom like I have started doing recently you also get a handful of B/W conversions, and if you do a search on the web you will find a lot of downloadable presets as they are called, which will convert color to B/W in many different ways.
Other filter plug-ins can be fetched for free, like this one, which is a bit crude in the looks, but works quite well. Funny enough this filter is also from Greece. The Greek must be fond of black and white...
If you want to explore the world of Photoshop filters and plugins, tonnes can be found here, including a couple of B/W conversion tools.
Suitable images
While fooling around with the conversion process the last couple of weeks I have discovered a few things. First of all it's clear that not all images are suited for a B/W conversion. When trying out the different tools and methods, I found that in the beginning I would just randomly pick out pictures, but as I progressed I could see more clearly that some images were better suited than others.
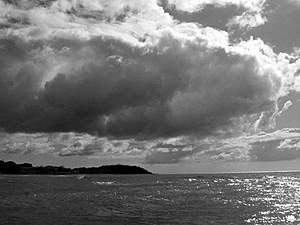
My personal favorites are the “landscape-with-drifting-clouds” scenes. These can produce some really neat black and white pictures, which offer justice to the original scene and come out really nice. Using different “filters” on such scenes can also give some very pronounced effects, and applying a digital red filter on skies and clouds can really enhance the clouds.
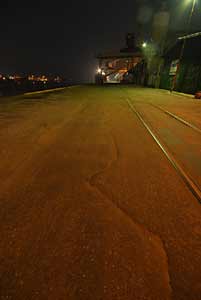
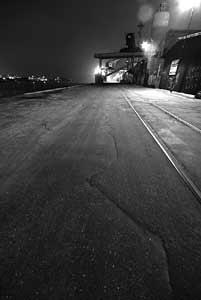
What I also learned was that color images that may seem very adequate, will often wind up bland and boring. Contrast in color is definitely something else than B/W contrast, and you have to perform a few conversions using different methods before you learn to spot good subjects.
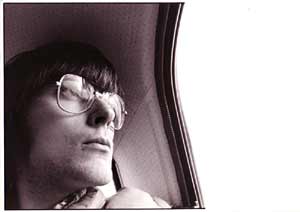
I usually get the best conversion results when I play with images that are fairly colorless from the outset. Other images that do well in the process have a small color specter like a dominating green from a forest bottom or as mentioned above a dominating blue sky. Portraits with pronounced skin structure (AKA wrinkles) will usually work really well in B/W, but not always please the people depicted.
